Beginner Guide for Xenoblade Chronicles 2
Understand Drivers, Blades, and the systems that carry you through Chapter 1 and beyond.
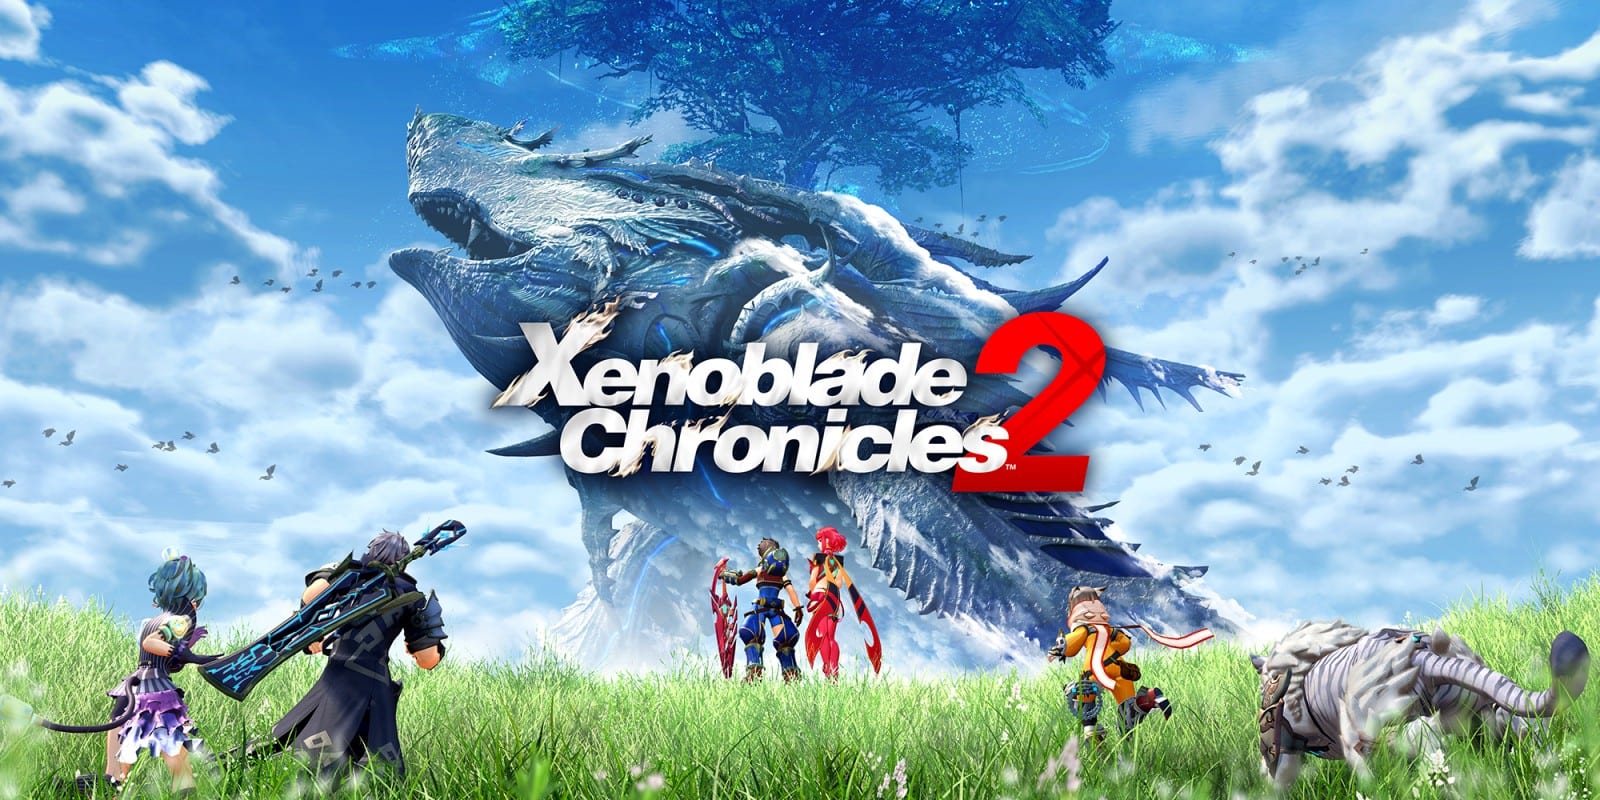
Your first hour on Alrest
Xenoblade Chronicles 2 throws a lot of terminology at you within minutes: Drivers, Blades, Arts, Specials, Affinity, and the Party Gauge. The game teaches some of this through mandatory fights, but it rarely explains how the pieces fit together. This beginner guide clarifies those foundations so your first chapters feel intentional instead of accidental.
You play as Rex, a salvager who becomes a Driver — a human who can resonate with a living weapon called a Blade. Blades grant new weapon classes, elemental attacks, and field skills used outside combat. By the end of Chapter 1 you will already juggle multiple Blades; by Chapter 3 you will control three Drivers in one battle. Learning that structure early prevents the common new-player mistake of treating Blades as passive equipment rather than half of your combat identity.
Drivers versus Blades: who does what
A Driver is a playable character — Rex, Nia, Tora, Zeke, Mòrag, and others — who equips a Blade and fights using Driver Arts tied to the Blade’s weapon class. Drivers also build the Party Gauge, apply Driver Combos like Break and Topple, and can be swapped mid-fight without ending the battle.
A Blade is a resonated partner with its own element, role, and Blade Specials. When you switch to Blade mode, you control the Blade directly with a different moveset focused on auto-attacks and Specials. Blades also carry field skills such as Focus or Lockpicking that open exploration routes.
Think of Drivers as combo setup and gauge builders, and Blades as burst damage and elemental specialists. Rex might Break an enemy as a Driver, then you swap to Pyra as a Blade to detonate a Fire Combo. Neither role replaces the other; fights punish teams that only use one side. For deeper combo routing, read the Combat Guide once you are comfortable switching.
Bonding your first Blades
Core Crystals are consumed when you attempt to resonate a Blade. Rex’s story grants Pyra and Mythra automatically, but other Drivers need crystals from shops, quests, or drops. Each Driver has a hidden stat called Luck that influences rare Blade odds; you do not need to optimize Luck in Chapter 1, but avoid wasting premium crystals on every NPC Driver before you understand role coverage.
When resonance succeeds, the Blade joins that Driver permanently unless you use rare items to overwrite bonds on non-main characters in post-game systems. Early on, give Rex your strongest attack Blades, let Nia hold healer or hybrid options, and let Tora fill a tank or utility slot once he joins. The Blades hub lists which rare pulls matter long-term so you do not chase duplicates blindly.
The three-Driver party structure
Active combat allows three Drivers on the field at once, each with one active Blade visible while others wait in reserve. You swap the player-controlled character freely; AI allies continue fighting with their own Blade selections. Party composition should cover elements — Fire, Water, Electric, Ice, Wind, Earth, Light, Dark — because enemies resist specific elements heavily.
Roles also matter. Attackers deal damage, Healers sustain the party, and Tanks draw aggro. Rex defaults toward Attack, Nia toward Healer, and Tora’s Poppi systems behave differently but still fill a defensive niche. If every Driver runs pure Attack Blades, elite enemies will focus your squishy characters and healers will not keep up. Sketch a simple triangle: one Break-capable Driver, one elemental DPS Blade, one healer or tank option. Refine that plan in Builds when your roster expands.
Combat basics before combos
Every battle revolves around Auto-Attacks, Driver Arts, Blade Specials, and the Party Gauge. Auto-attacks build meter for Arts on the left face buttons. Blade Specials charge on a separate bar and escalate from Level I to Level IV, with higher levels dealing more damage and contributing more to Blade Combos.
Driver Combos use stages — Break, Topple, Launch, Smash — applied in order on susceptible enemies. You do not need perfect execution in early chapters, but you should recognize the icons above an enemy’s health bar. When a stage lands, follow up instead of repeating the same stage. Full combo chains and Chain Attacks are covered in the Combat Guide; here, focus on swapping Drivers when an enemy is Broken so another character can Topple.
Use the Controls reference to confirm how Blade switching, targeting, and Party Gauge activation map on your controller. Switching quickly matters more than memorizing every Art name at first.
Exploration, field skills, and side content
Between fights, Alrest opens into large zones with collection points, salvage spots, and hidden paths. Blades grant field skills checked at interactive nodes — locked doors need Lockpicking, high ledges need Jump, hidden caches need Focus. If a route is blocked, you likely need a higher field skill rank or a different Blade.
The Field Skills Guide lists every skill and typical rank requirements. Trust raises field skill levels, so if exploration stalls, see the Trust Guide for pouch items and Merc Missions rather than grinding player level alone.
Economy and items in early chapters
Gold pays for accessories, pouch items, and bulk Core Crystals. Sell duplicate collectibles, complete side quests with cash rewards, and do not hoard every common material. The Money and Farming Guide expands routes once shops stock expensive blades and accessories.
Pouch items are especially important early because they raise Blade trust passively during combat. Rex’s party benefits from simple foods tied to each Blade’s preferences. Setting pouches before a long dungeon run pays more than buying attack buffs you forget to use.
Common beginner mistakes to avoid
Skipping Driver Combos because normal attacks seem fast enough will wall you against Chapter 4 elites and most bosses. Ignoring field skills blocks optional gear and sometimes main-path shortcuts. Pulling dozens of Core Crystals without reading role coverage floods you with Attack Blades and no Break or Healer options. Over-leveling through grind while neglecting trust leaves Blade Specials weak even at high player level.
Also avoid fighting with only one Driver active out of habit. Swap to build Party Gauge on all three bars, then unleash Chain Attacks when the plus prompt appears. That rhythm is the core skill Xenoblade Chronicles 2 expects for the rest of the campaign.
Where to go next
After Chapter 3, prioritize the Combat Guide for Blade Combos and Chain Attacks, the Trust Guide for affinity and pouches, and the Guides Hub for the full reading order. Xenoblade Chronicles 2 opens slowly, but once Drivers, Blades, and the Party Gauge click together, the rest of Alrest becomes a systems playground rather than a slog.
Frequently Asked Questions
Quick answers to the most common questions.
What is the difference between a Driver and a Blade in Xenoblade Chronicles 2?
Drivers are human characters who use Driver Arts and build the Party Gauge. Blades are resonated partners with elements, Blade Specials, and field skills. You switch between controlling Drivers and Blades mid-battle.
How many Blades should I use at once?
Each active Driver equips three Blades but fights with one at a time. Your party fields three Drivers, so you manage up to nine Blades across the team with three visible in combat.
When should I start learning Chain Attacks?
As soon as the Party Gauge tutorial appears — usually early Chapter 2. Read the [Combat Guide](/guides/combat/) for timing, but always fill all three Driver bars before bosses.
Why can't I open certain doors or chests?
You likely need a field skill at a higher rank. Check the [Field Skills Guide](/guides/field-skills/) and raise trust with the Blade that carries the required skill.
Should I save Core Crystals early on?
Use common crystals on story Drivers to fill role gaps, but avoid burning rare premium crystals until you understand which Blades you need. The [Blades hub](/blades/) helps prioritize long-term pulls.